MMS - Entra Registration

Článek popisuje postup registrace servisního účtu aplikace v Azure Active Directory (AAD). Vysvětluje význam tohoto účtu pro bezpečnou autentizaci a integraci MMS se službami Microsoft 365 a přináší návod k jeho správnému nastavení.

Registrace servisního účtu aplikace

A.  Popis

Registrace servisního účtu v Azure Active Directory (AAD) se používá pro umožnění zabezpečené komunikace mezi SharePointem a externími aplikacemi v situaci, kdy není vhodná komunikace přímo pod účtem přihlášeného uživatele. Tato registrace poskytuje prostředky pro autentizaci a autorizaci a umožňuje externí aplikaci přístup k prostředkům SharePointu pod speciálním účtem registrované aplikace.

B.  Registrace

Registrace aplikace se provádí v Azure AAD (Entra).
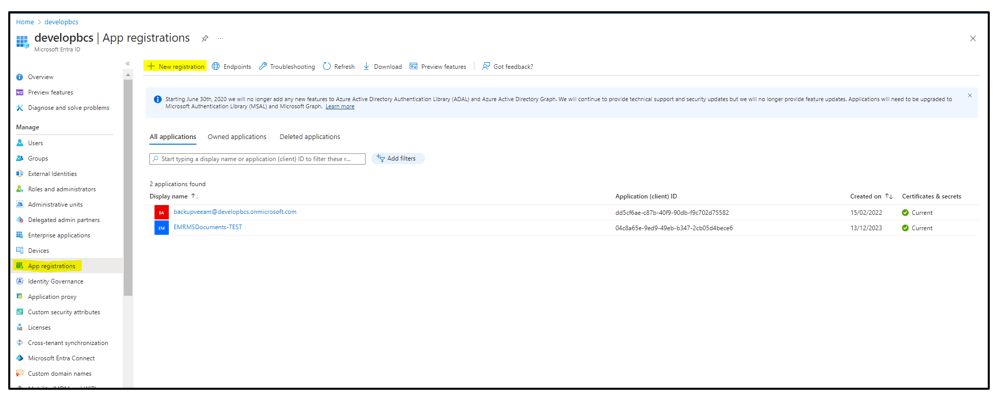
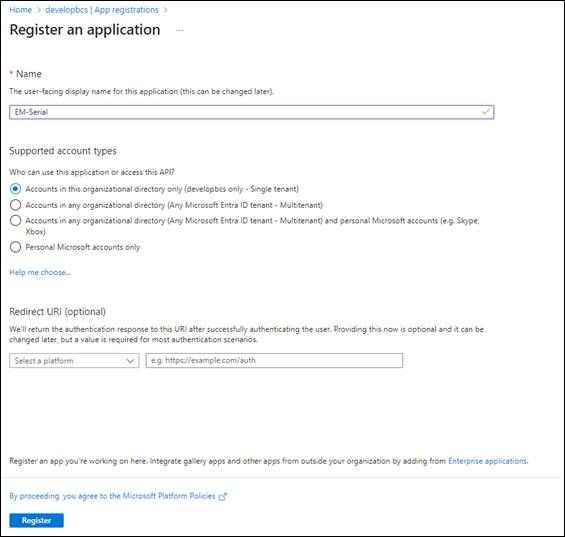
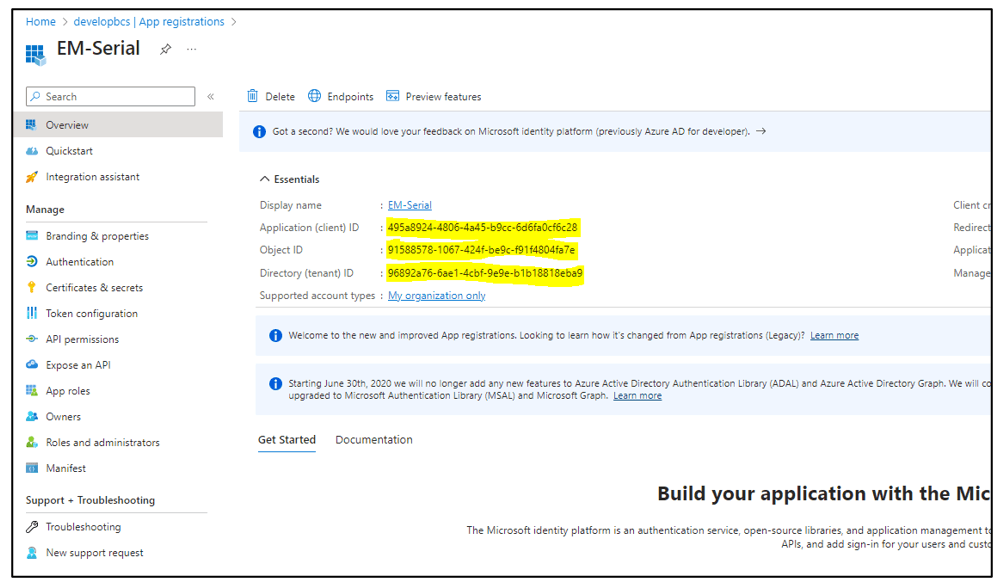
·       Zde se v sekci App registrations se založí nová registrace.
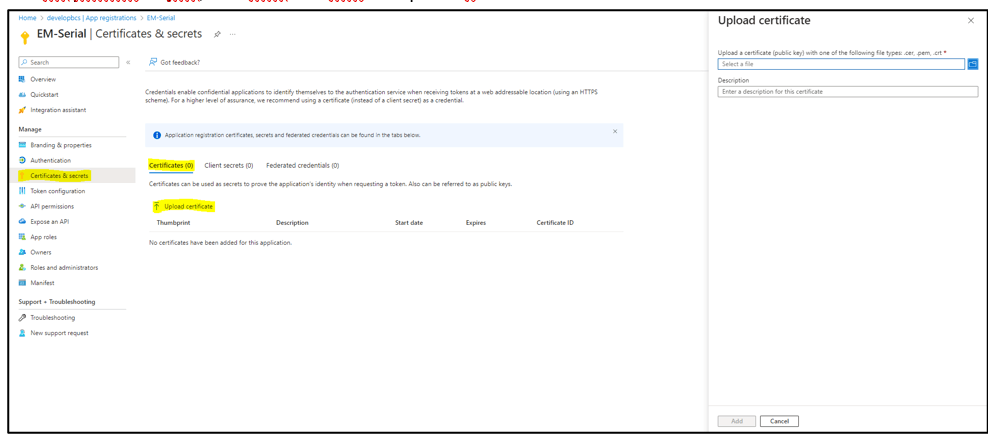
·       Přidání vygenerovaného certifikátu, pomocí kterého probíhá ověření při komunikaci do SharePointu.
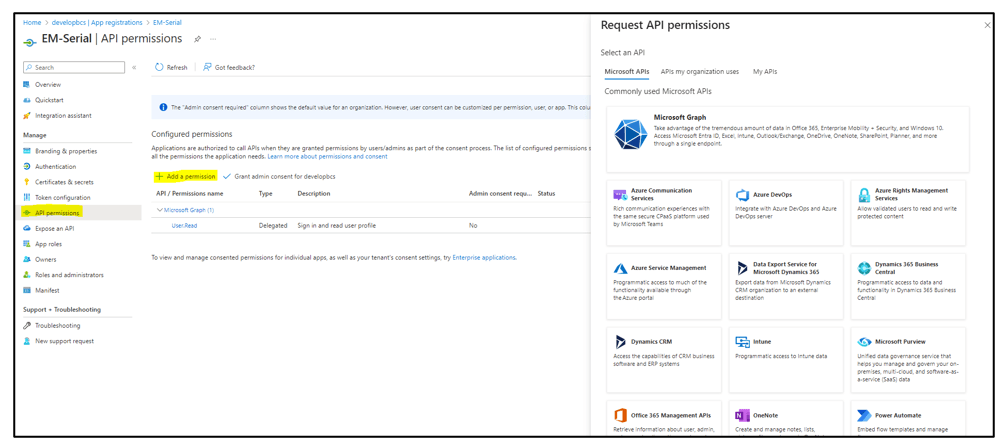
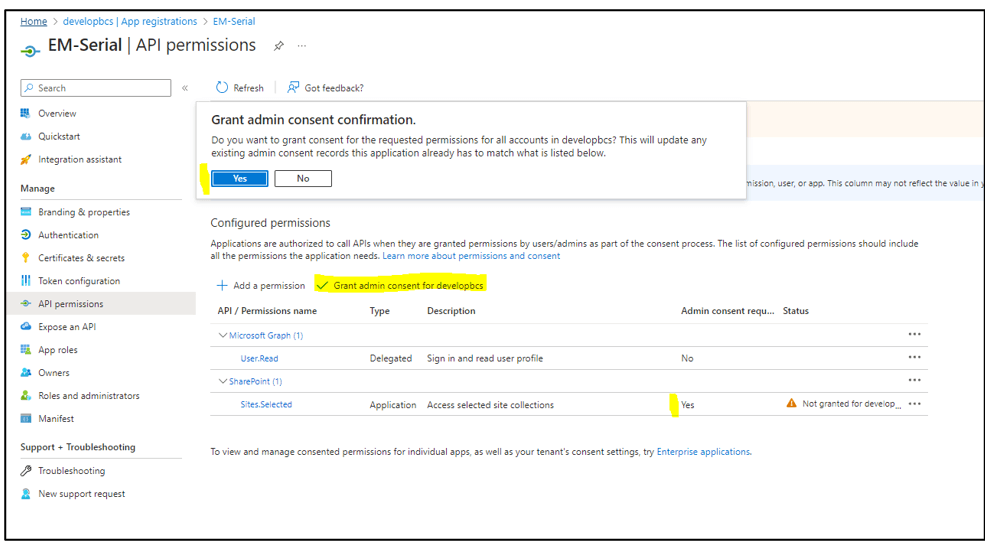
·       Přidělení oprávnění registrované aplikace pro přístup ke zdrojům SharePointu

1.  Postup

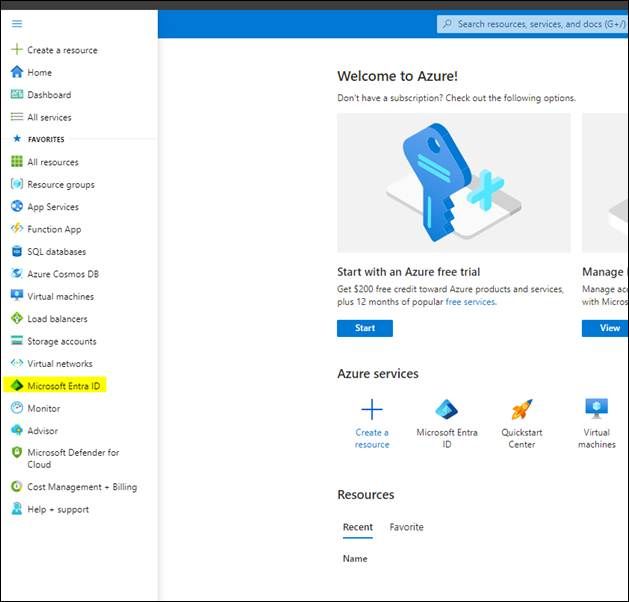
a.     In the Azure portal select the Microsoft Entra ID in left navigation menu.

b.     In Microsoft Entra Select App registrations in the left menu. All registered applications in your tenant are displayed on the page.
Click the "New registration" button in the upper left part of the page to create a new app registration.
c.     On "Register an application" page provide the name for the new application "EM-Serial". In the account type selection, leave the first option checked. Redirect URI setting can be blank. Then click on the Register button on the bottom of the page.
d.   After you create the application, the overview page is displayed. Now click on "API permissions" in the left menu and then click on the "Add a permission" button. A new panel "Request API permissions" will appear on the right side of the page.
e.   For our application, from select SharePoint, then Application permissions and then Sites.Selected permission. This choice is used to grant permissions only for selected SharePoint site. We will assign permission for the specific later. Then click on the Add permissions button on the bottom of the panel.
The assignment of this permission requires tenant admin consent before it can be used. This is displayed in the line of the assigned permission. In order to do this, click on the "Grant admin consent for {organization name}" button and confirm the action by clicking on the "Yes" button that appears at the top.
f.     Final step is connecting the certificate to the application. Click on "Certificates & secrets" in the left menu bar. Then select the Certificates tab and click on the "Upload certificate" button, select the .CER file, that we provide to you, and click on "Add" to upload it.
g.     On App registration overview, there are several IDs (Application ID, Object ID, Directory ID). Please provide us these IDs. We will use Application (client) ID later to assign permissions to specific site in SharePoint.
h.     Assign permissions to selected site – grant required permissions to SharePoint Site through MS Graph Explorer
Source:
https://learn.microsoft.com/en-us/sharepoint/dev/solution-guidance/security-apponly-azuread 
Note: This page describes the complete procedure for generating a certificate, adding an app registration in Microsoft Entra, and an example of using created app to access SharePoint using Powershell.